
Client gui tutorial
Here we want to create a UI that only exist on the client side and doesn't sync any data.
We will make the GUI as simple as possible
1. Creating the screen
First create a new class with a static method, which returns a ModularScreen.
public class TutorialGUI {

    public static ModularScreen createGUI() {
        ModularPanel panel = ModularPanel.defaultPanel("tutorial_panel");
        return new ModularScreen(panel);
    }
}This creates the most basic GUI with a 176 x 166 centered panel. Take a look at the constructor and method used including their javadoc. The GUI's theme defines widgets backgrounds. By default, this gives panels the default vanilla background. You can call .background() to set your own background. However, creating a new theme is recommended if applicable.
For now lets put a title at the top of the panel. For that we'll use .child() and pass a widget to it. To create a text widget we can use IKey.str().asWidget. (Note: You can create a translated string with IKey.lang()). We also want to set the postion, for that we chain .top() and .left() on ANY widegt which implements IPositioned. We don't need to set a size since TextWidget calculates it on its own. But you can limit the width for example and the text will automatically wrap, if necessary.
public static ModularScreen createGUI() {
    ModularPanel panel = ModularPanel.defaultPanel("tutorial_panel");
    panel.child(IKey.str("My first screen").asWidget()
                .top(7).left(7));
    return new ModularScreen(panel);
}2. Opening the screen
We want to open the screen when the player right clicks with a diamond. We use a forge event for that and simply check for client side and a diamond. Then we open the screen with ClientGUI.open(). Pass in a new screen instance with the method we just created. Now let's boot up minecraft and test it.
@Mod.EventBusSubscriber
public class TutorialGUI {

    @SubscribeEvent
    public static void onItemUse(PlayerInteractEvent.RightClickItem event) {
        if (event.getEntityPlayer().getEntityWorld().isRemote && event.getItemStack().getItem() == Items.DIAMOND) {
            ClientGUI.open(createGUI());
        }
    }

    public static ModularScreen createGUI() {
        ...
    }
}Your screen should look like this, when you take a diamond and right click. The blurry background comes from the Blur mod. It is not required, but it makes things look nicer in my opinion. You may notice the purple text in the bottom left corner or a border on widgets when you hover them. That's the debug mode. Its enabled by default in a dev environment and can be disabled via the config file or by pressing CTRL + SHIFT + ALT + C while in a ModularUI screen. 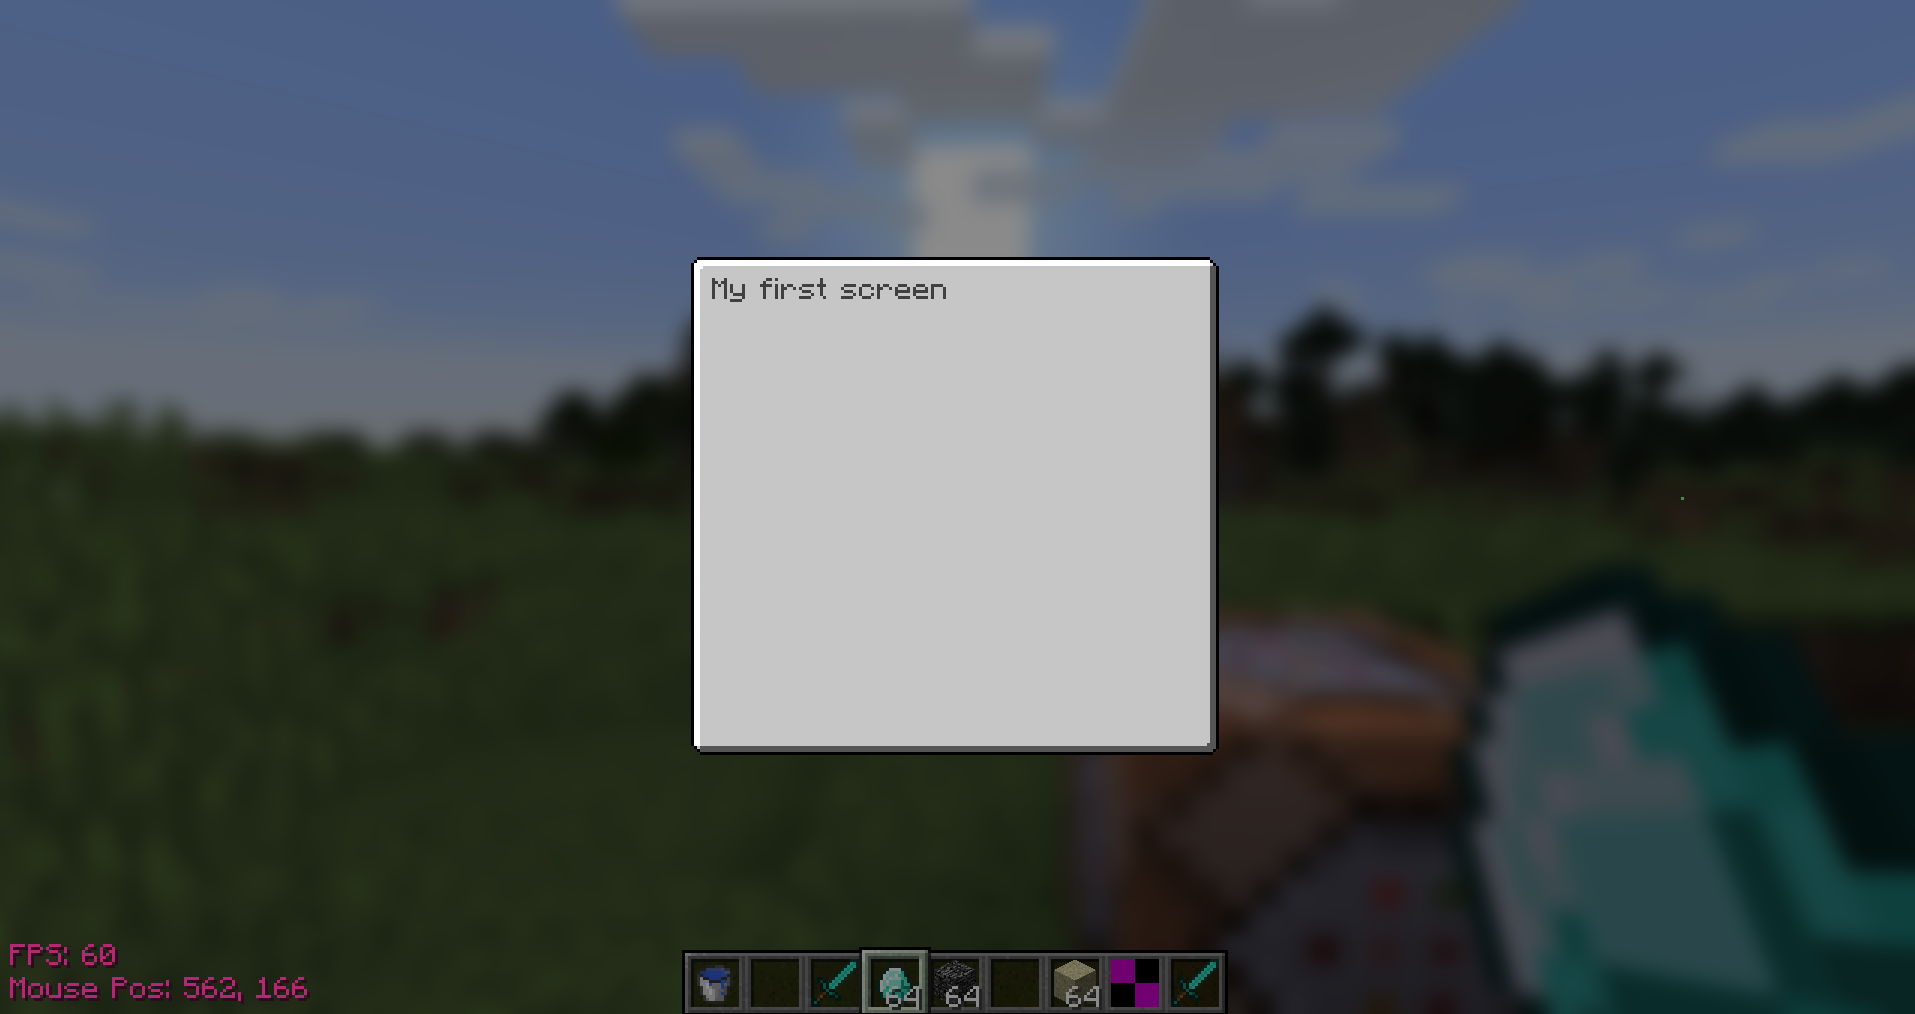
3. Adding a button
Now let's add a button, that greets the player with a message. For that we will use the ButtonWidget. Here we do need to set a size since the text on the button is not a widget, but a IDrawable, which doesnt size itself. It uses the size of its widget. We don't need to set a background since its set by the current Theme. We center the button in the panel using .align(Alignment.Center) and set a size with .size(60, 16). We could also use .width(60).height(16). It's the same thing.
public static ModularScreen createGui() {
        ModularPanel panel = ModularPanel.defaultPanel("tutorial_panel");
        panel.child(IKey.str("My first screen").asWidget()
                    .top(7).left(7))
            .child(new ButtonWidget<>()
                    .align(Alignment.Center)
                    .size(60, 16)
                    .overlay(IKey.str("Say Hello"))
                    .onMousePressed(button -> {
                        EntityPlayer player = Minecraft.getMinecraft().player;
                        player.sendMessage(new TextComponentString("Hello " + player.getName()));
                        return true;
                    }));
        return new ModularScreen(panel);
}Let's see what it looks like. 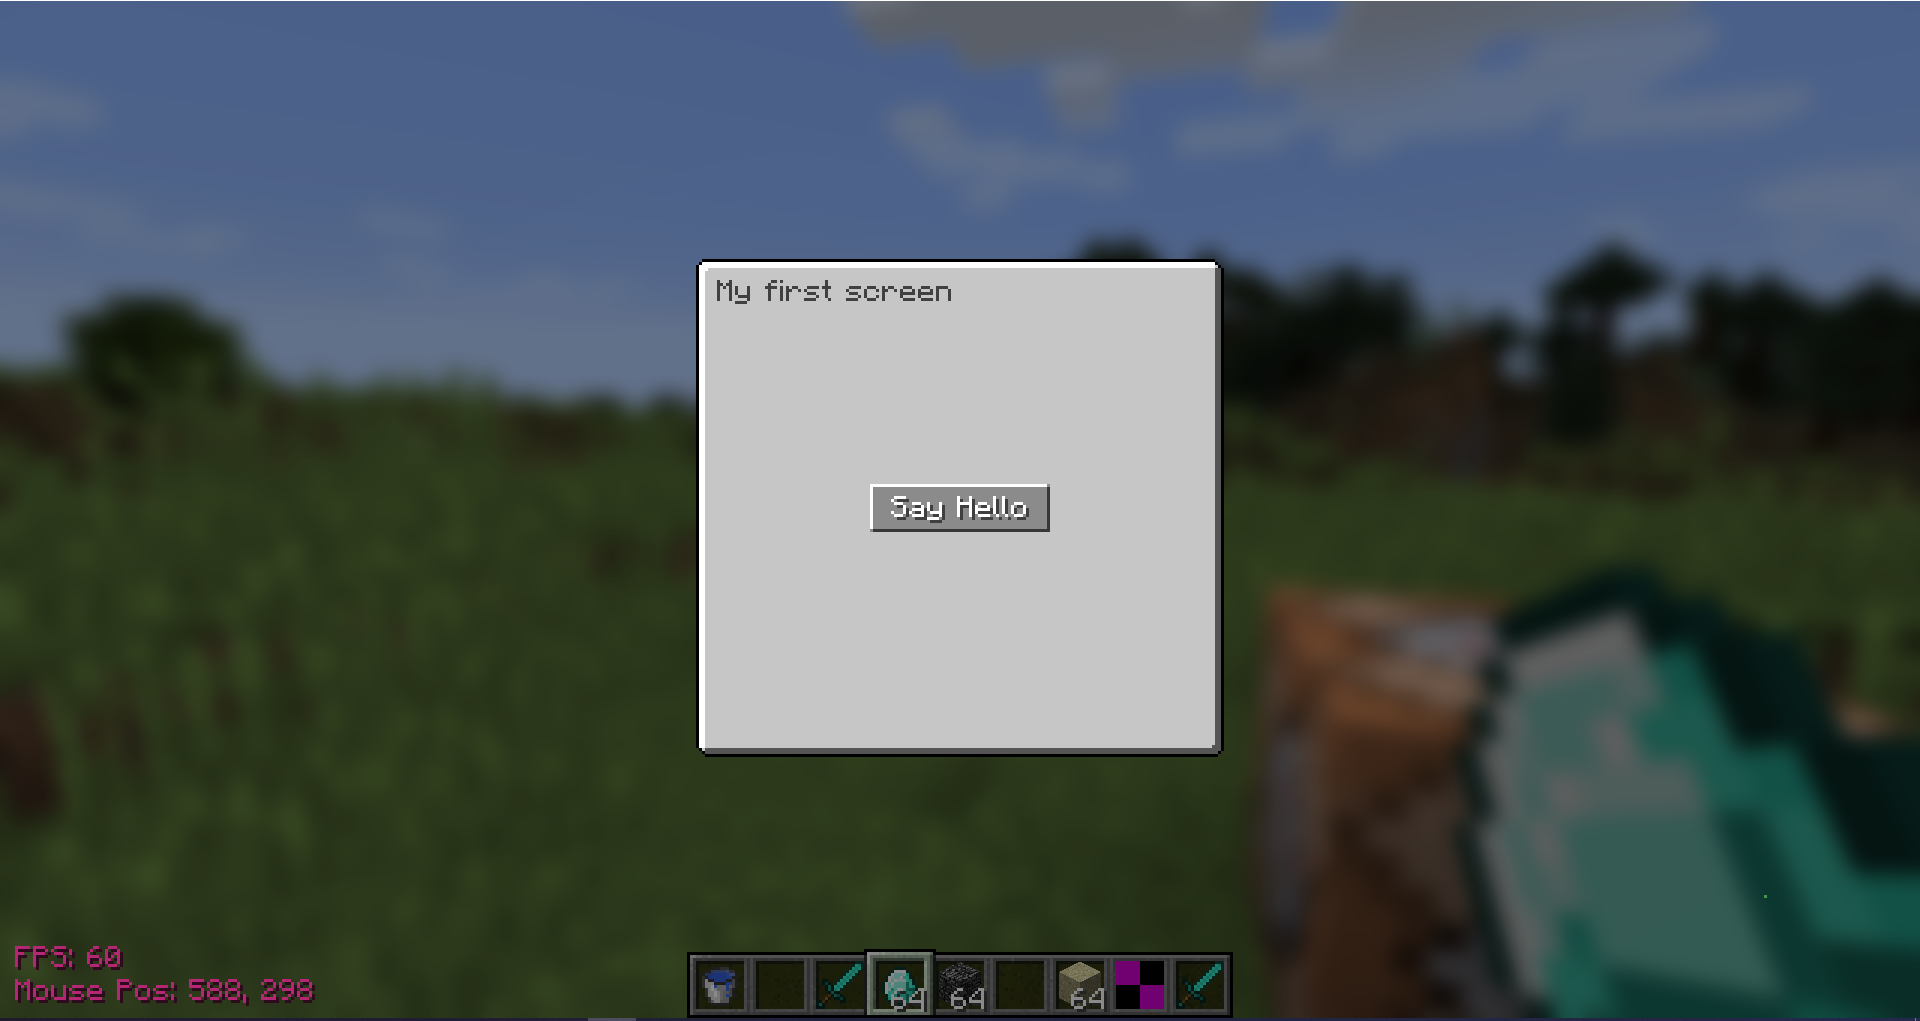
Pressing the button greets the player in the chat. 
Simple, right?
 Nullpinter
 Clefal